HOW TO
Here are some basic directions and tips on how to inoculate, expand, fruit and trigger fruiting.
Getting started: Ensure the working environment is sterile. We recommend the use of clean nitrile gloves and disposable masks for additional precautions. To seal fruiting bags, we recommend using a heat sealer to maintain sterile growing conditions within the bag. Home growers may use zap straps to seal the top of the bag, but it is not the most effective method.
Ideal environment: Adequate humidity (65%-75%), temperature controlled (74°F/23°C) and air exchange.

How To
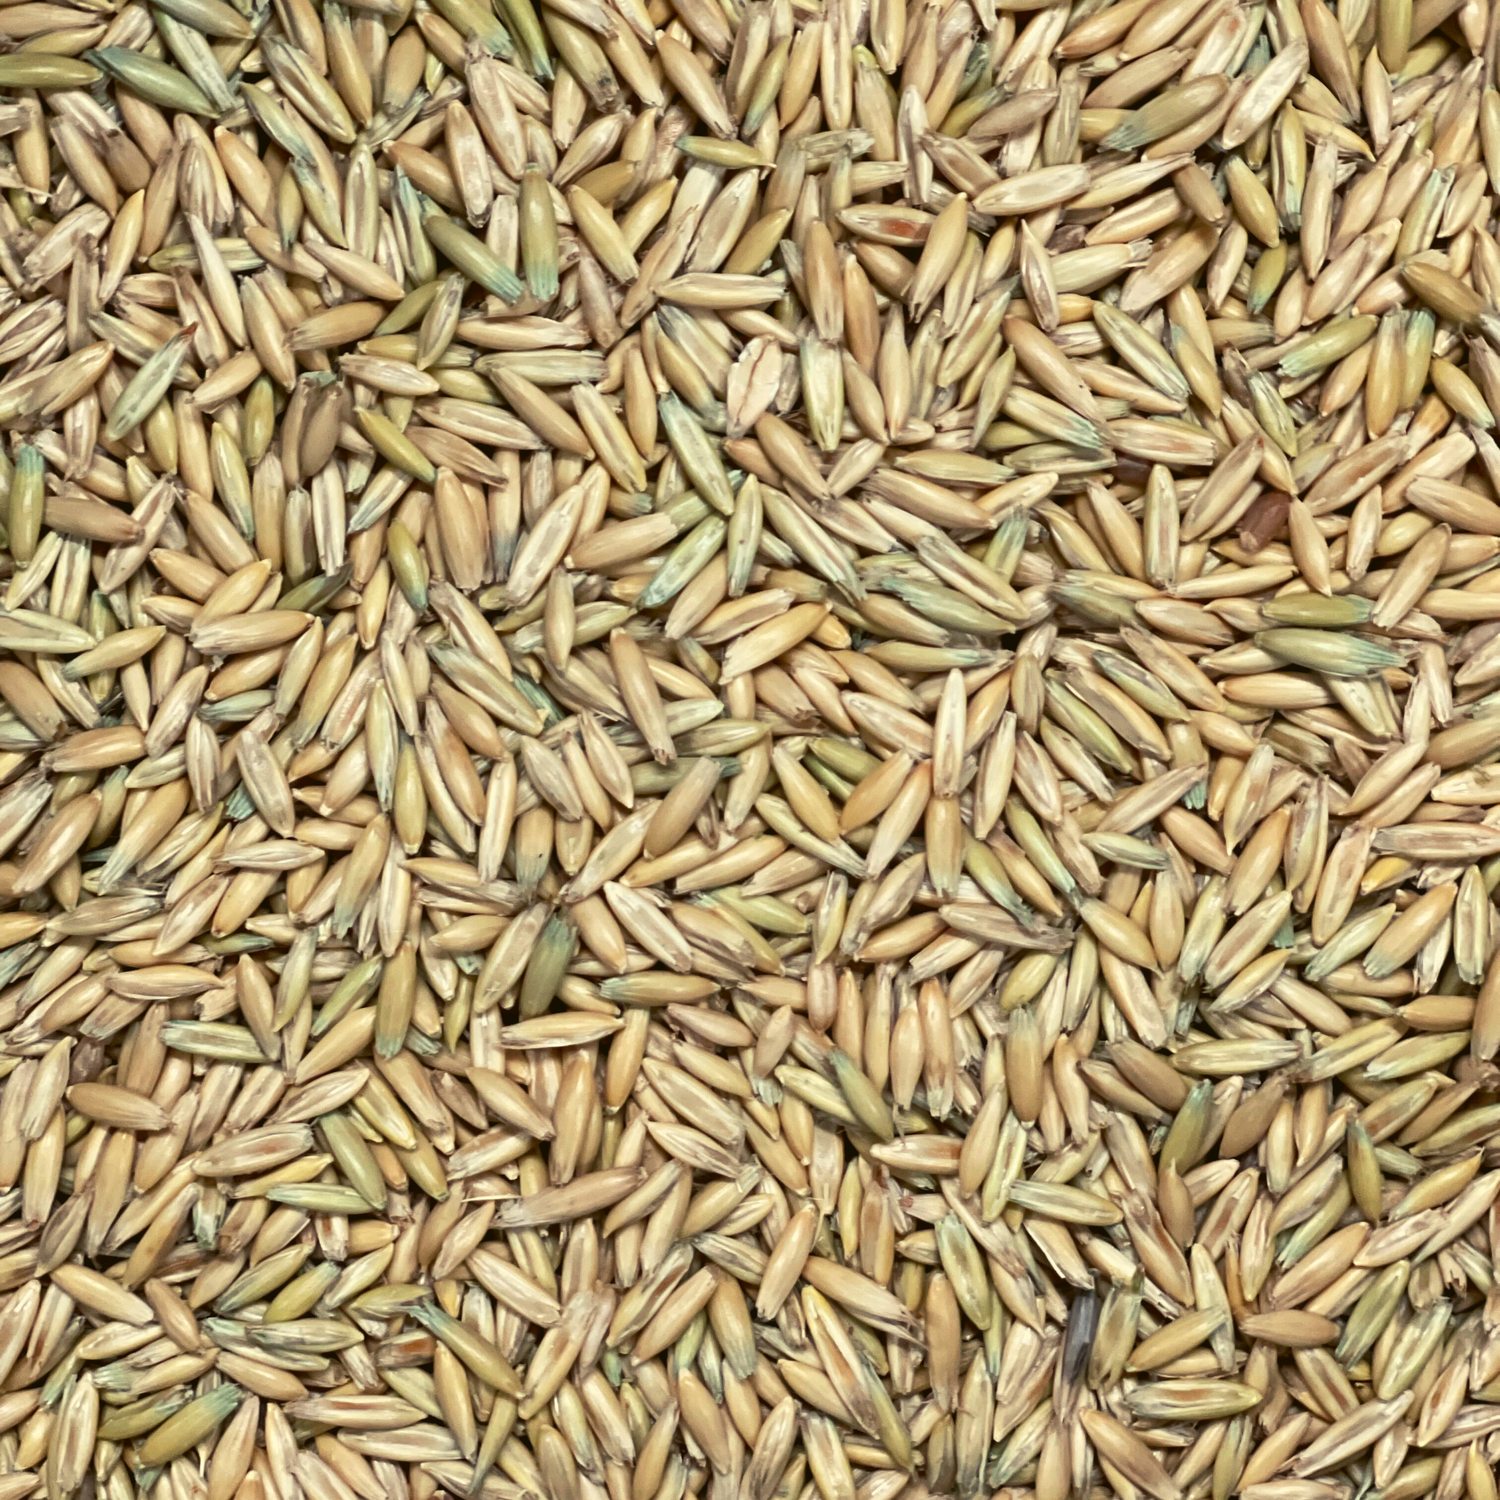
Inoculate Sterilized Grain
- Sterilize: Sterilize your area, tools, injection port, grain bag and liquid culture or agar plate. Be sure to sanitize with 70% Alcohol.
- Inoculate:
-with liquid culture: In a sterile environment, inject 5ml-10ml of liquid culture into a grain bag. Higher dosage will increase the speed of colonization.
-with agar: In a sterile environment, using clean tools, slice half of a fully colonized agar plate into pieces. We suggest smaller pieces to increase inoculation points. - Shake: Seal the inoculated grain bag, ensuring an airtight seal. Lightly shake and evenly combine culture/agar with grain. We suggest introducing air into the bag to allow space for shaking and even distribution.
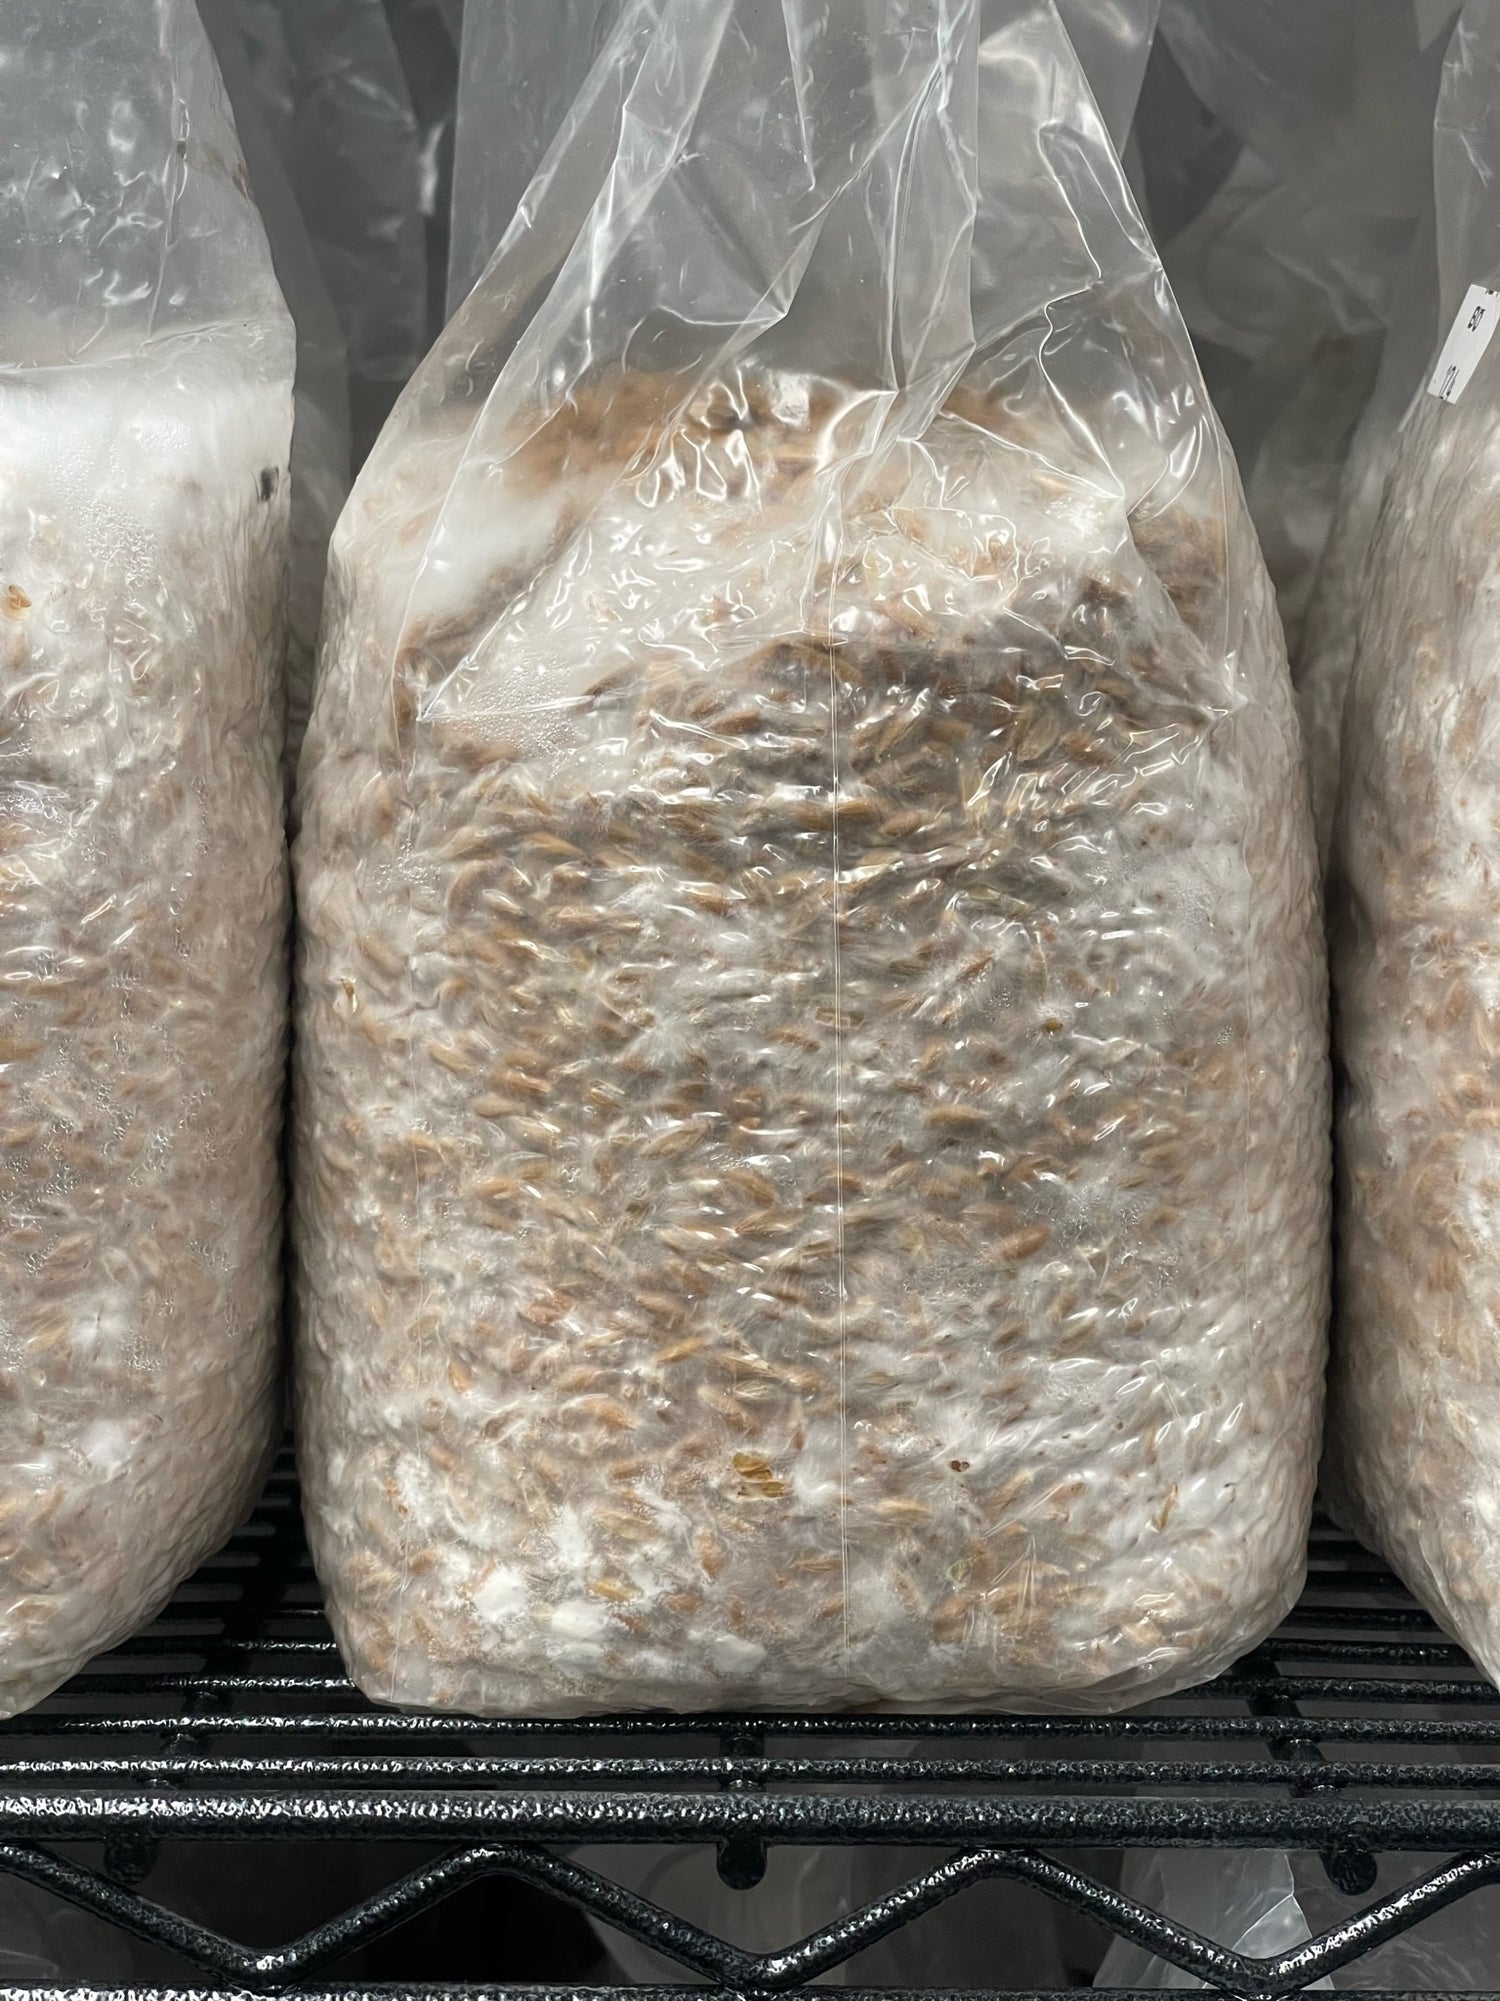
- Incubate: In an ideal growing environment, store your expanded bags. Monitor mycelial colonization for 10-15 days.

How to
Expand Grain Spawn
- Sterilize: Sterilize your area, tools, grain bag and colonized grain spawn. Be sure to sanitize with 70% Alcohol.
- Inoculate: While sealed, gently break up the colonized grain spawn bag. Applying light pressure to the block and any large clumps, to minimize risk of damage to mycelium growth. In a sterile environment, using clean tools, cut the top corner of the colonized grain spawn bag. Pour the broken up grain spawn into a sterilized grain bag. We suggest a 5:1 ratio of grain to grain spawn.
- Shake: Seal the inoculated grain bag, ensuring an airtight seal. Lightly shake and evenly combine culture/agar with grain. We suggest introducing air into the bag to allow space for shaking and even distribution.
- Incubate: In an ideal growing environment, store your expanded bags. Monitor mycelial colonization for 10-15 days.

HOW TO
Create a Fruiting Bag
- Sterilize: Sterilize your area, tools, substrate bag and colonized grain spawn. Be sure to sanitize with 70% Alcohol.
- Inoculate: While sealed, gently break up the colonized grain spawn bag by applying light pressure to the block and any large clumps. Ensuring not to damage any mycelium growth. In a sterile environment, using clean tools, cut the top corner of the colonized grain spawn bag. Pour the broken up grain spawn into a sterilized substrate bag. We suggest a 5:1 ratio of substrate to grain spawn.
- Shake: Seal the inoculated substrate bag, ensuring an airtight seal. Lightly break up substrate once the bag is sealed, shake and evenly combine grain spawn with substrate. We suggest introducing air into the bag to allow space for shaking and even distribution.
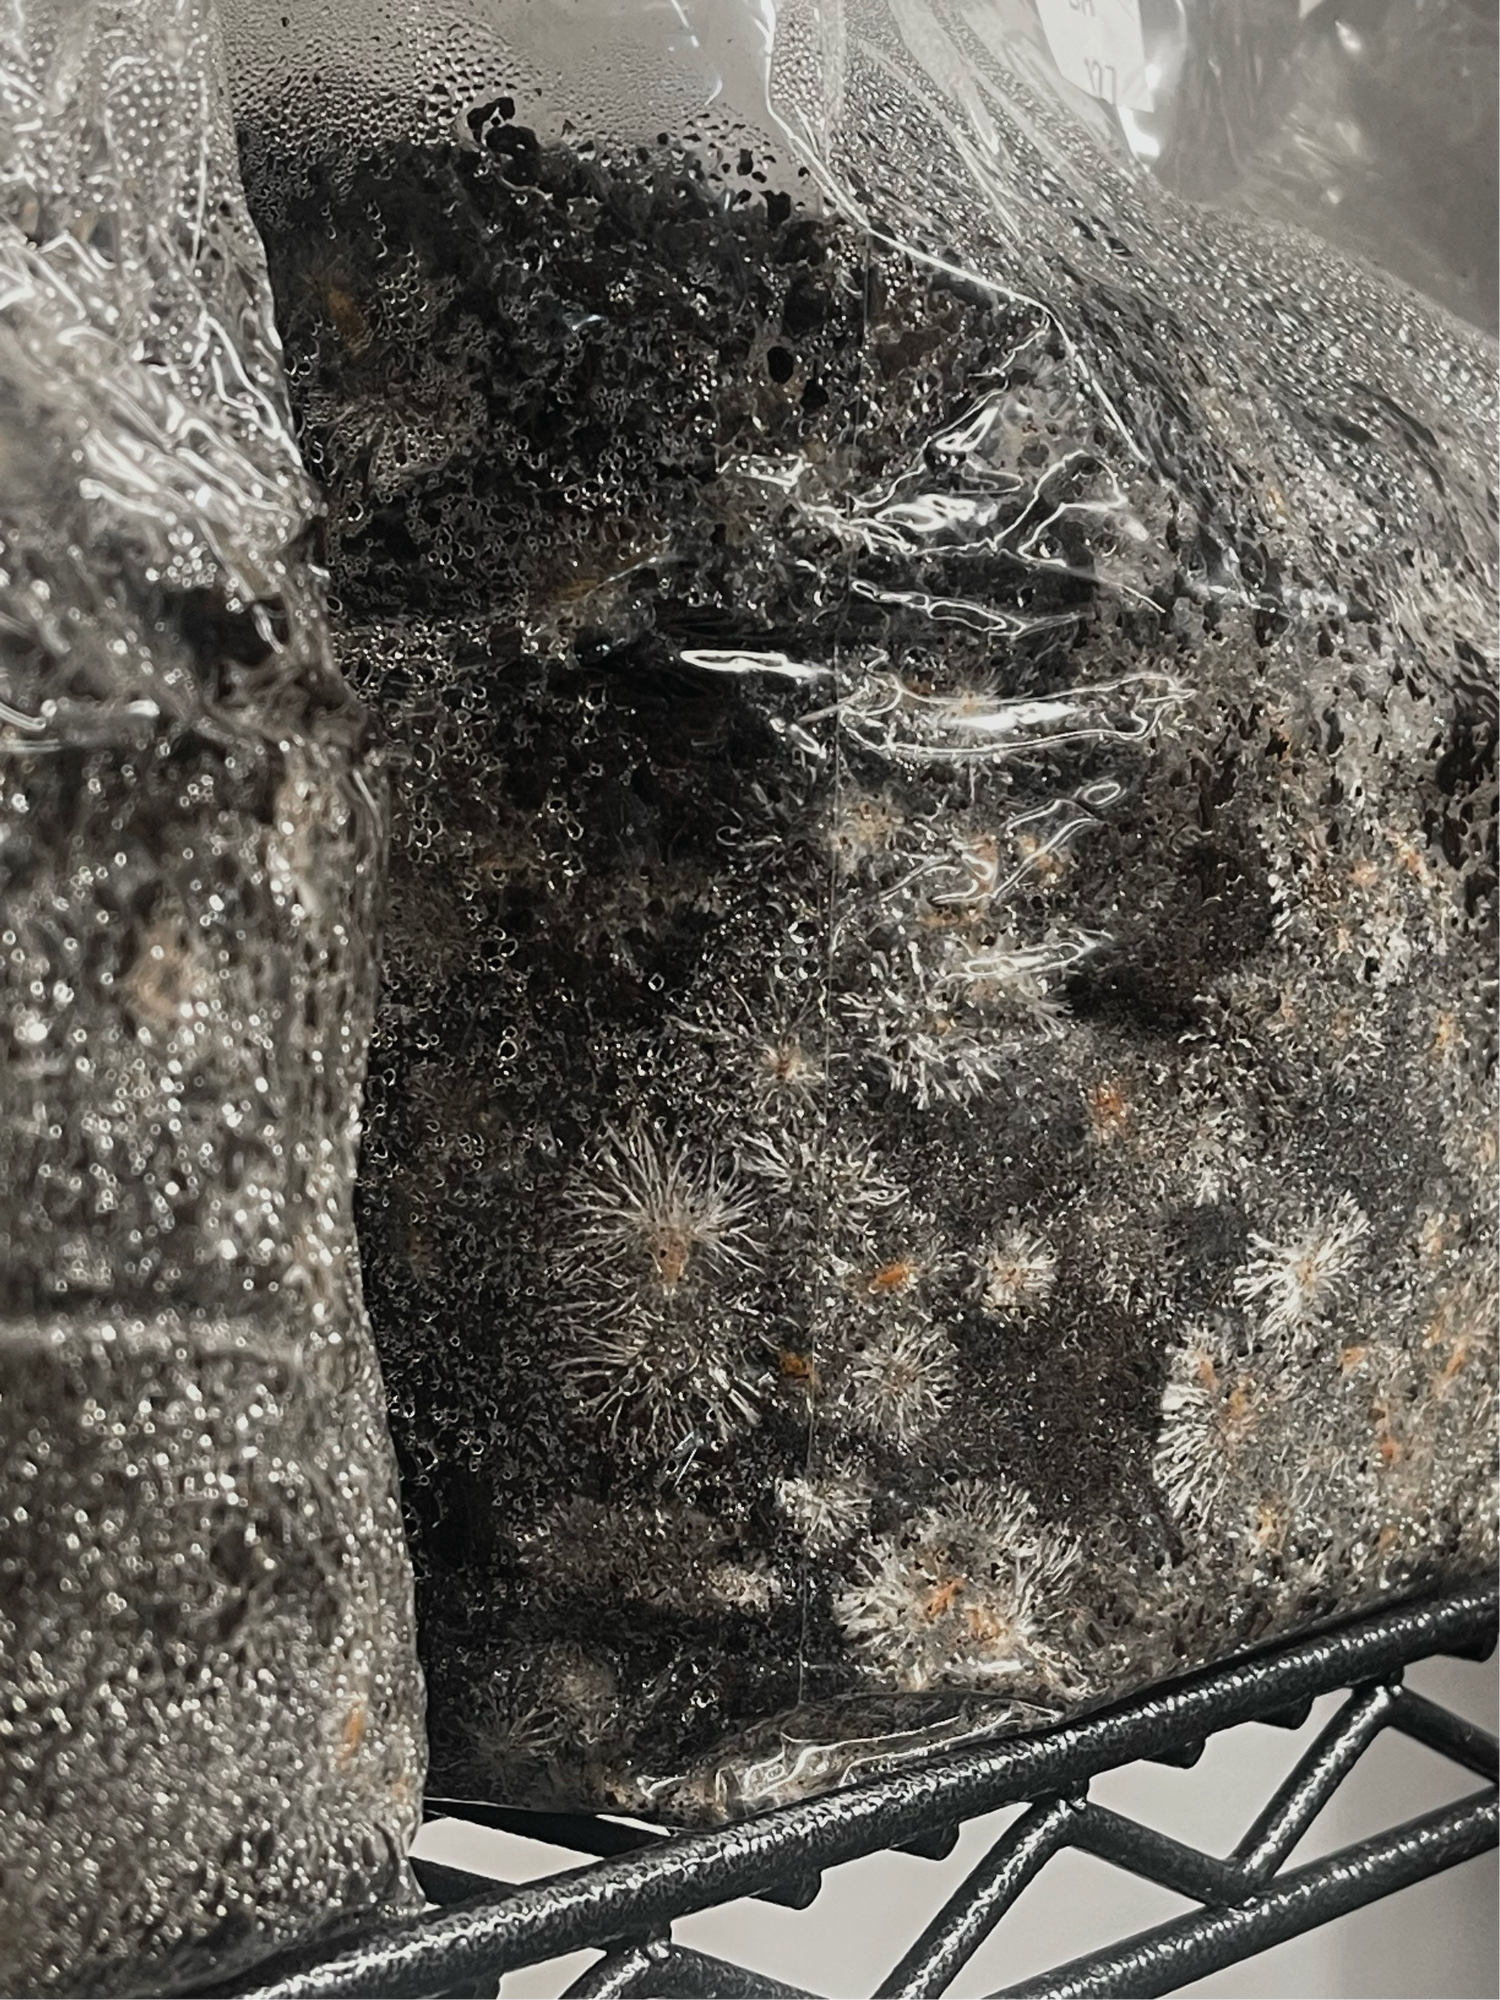
- Incubate: In an ideal growing environment, store your fruiting bag. Monitor mycelial colonization for 10-15 days.

HOW TO
Trigger a Fruiting Bag
- Sterilize: Sterilize your area, tools, and fruiting bag with 70% alcohol.
- Release Air and Fold Down: Using sterilized tools, cut a small slit in the top corner of the colonized fruiting bag to release air. Fold the excess material snugly against the fruiting block and secure it with a large rubber band.
- Slice: Using sterilized tools, make an "X" cut in the bag to create a fruiting site.
- Incubate: Place the fruiting kit in a controlled environment with the ideal humidity and temperature (see details above).
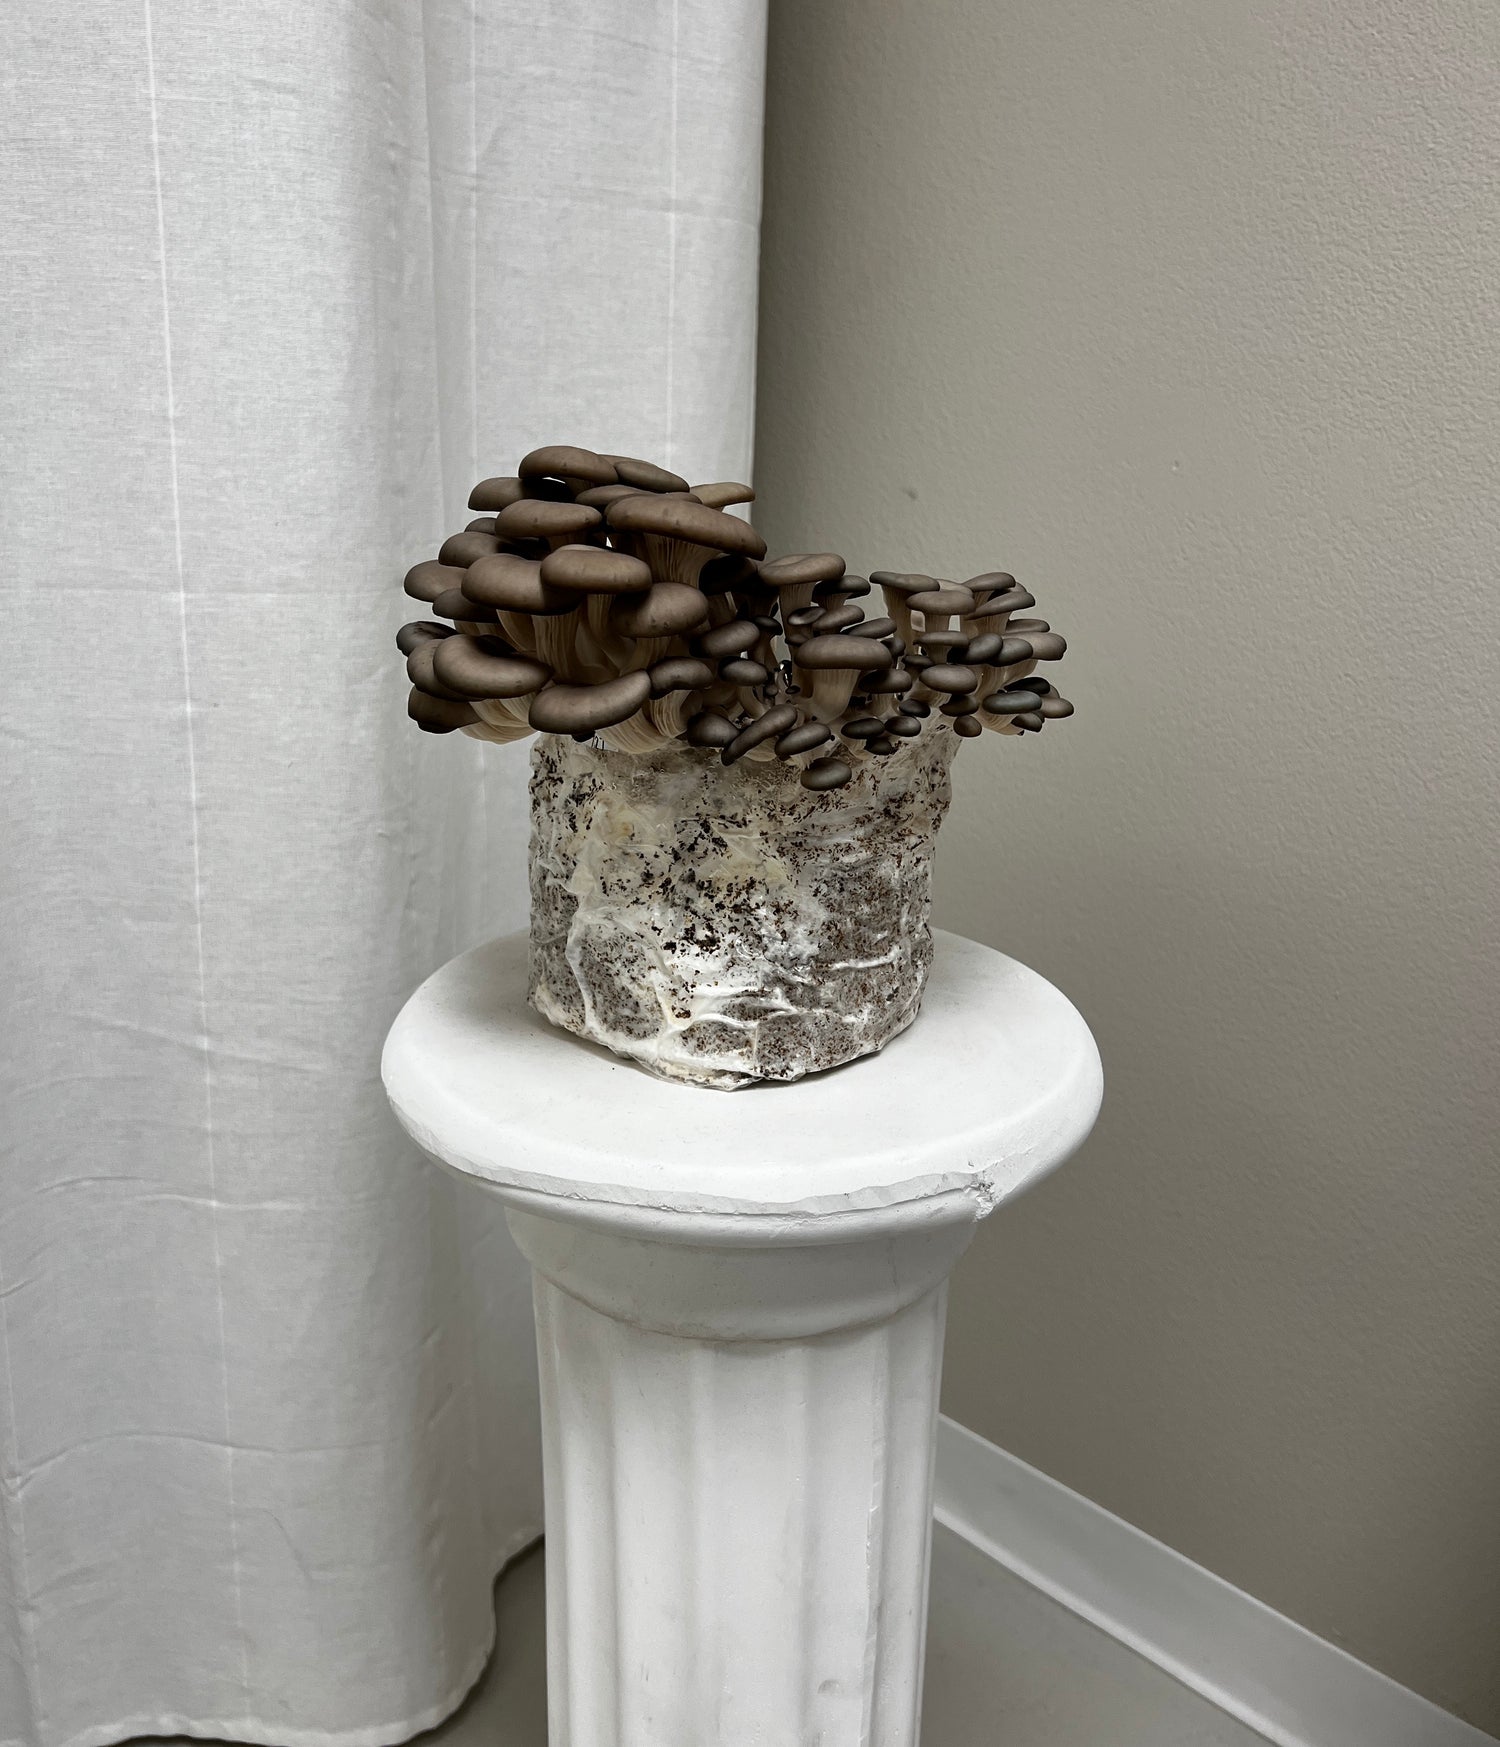
- Yield: Monitor and maintain the fruiting bags. Pinning to full fruiting usually begins within 14 to 21 days.
- Harvest: Once mushrooms are fully developed, gently harvest them by rocking back and forth at the base. Trim off any excess substrate, and they are ready to enjoy!
